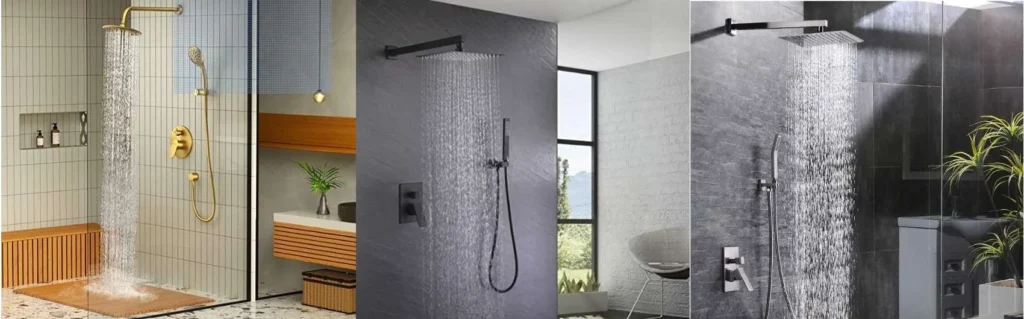
Top 7 Shower Heads for the Perfect Water Pressure and Flow
30 Dec, 2022
Com 0
4.9/5 - (140 votes)
Benefits of Choosing a Quality Shower Faucet
Investing in a good shower faucet is more than just a bathroom upgrade — it’s about improving your comfort, hygiene, and daily routine. Here’s why it’s worth it:
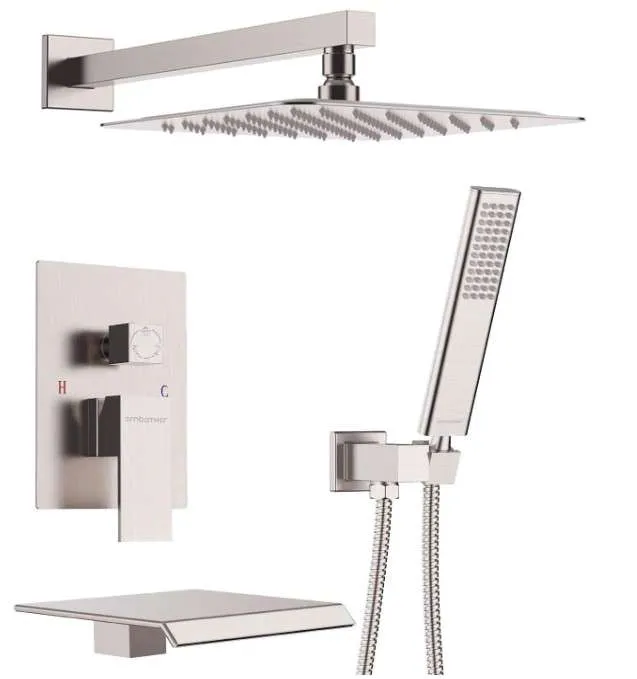
1. Stable Water Temperature
High-quality faucets maintain a steady temperature, so you won’t get sudden cold shocks or scalding hot water. This makes your shower safer and more comfortable.
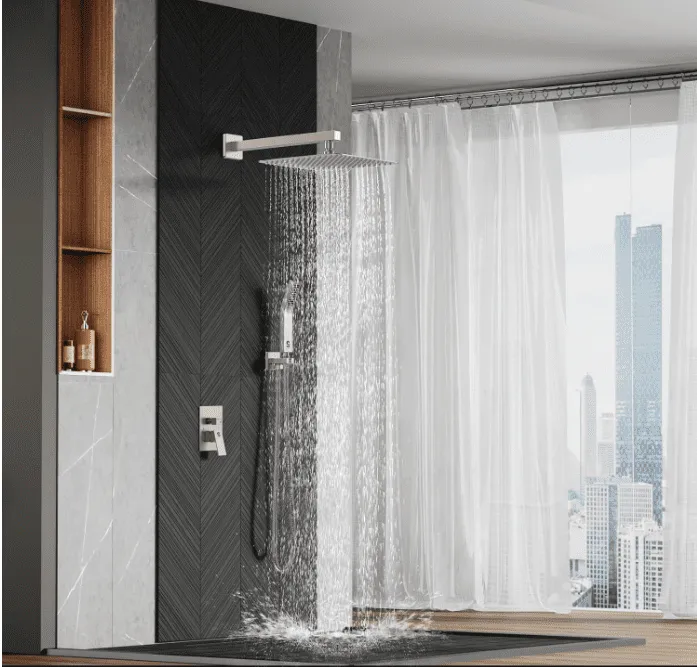
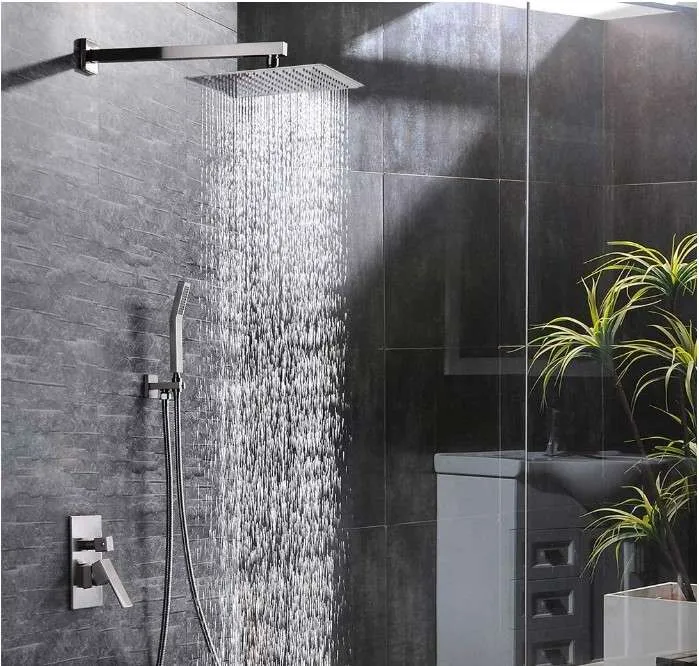
2. Improved Water Pressure
A reliable faucet ensures strong, consistent water flow, helping you enjoy a satisfying and refreshing shower every time.
3. Saves Water & Reduces Bills
Modern faucets are designed to use water efficiently. You get the same performance with less water — a win for your wallet and the environment.
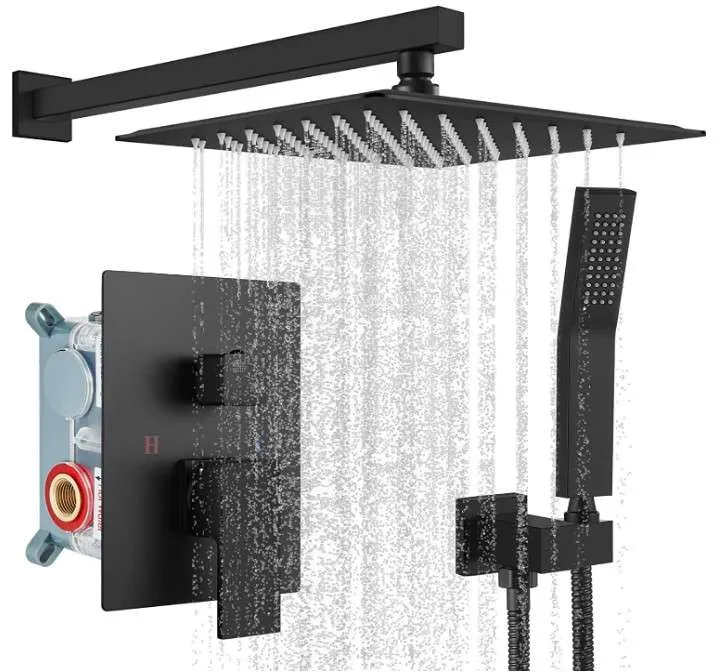
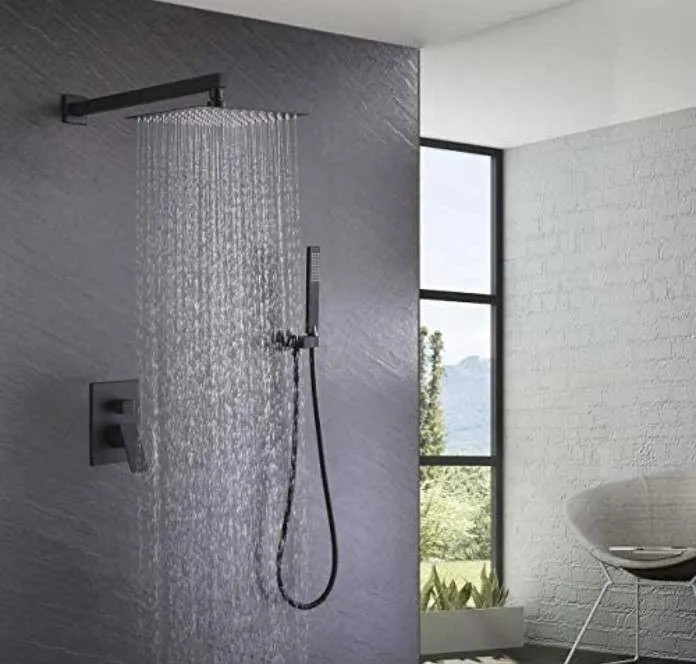
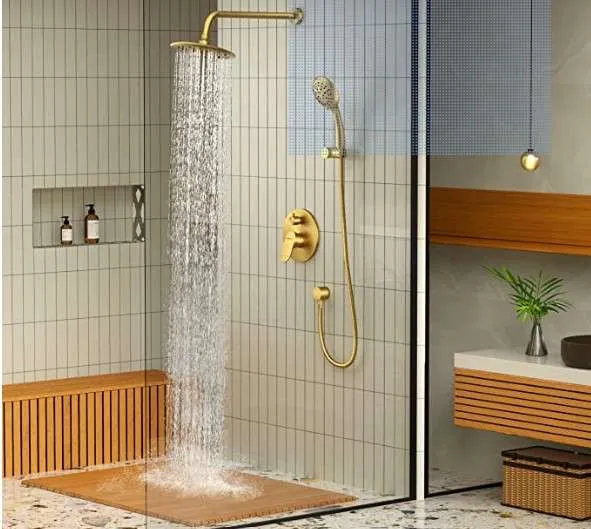
4. Stylish Bathroom Upgrade
Shower faucets come in a range of sleek designs and finishes that can instantly elevate the look of your bathroom without a full renovation.
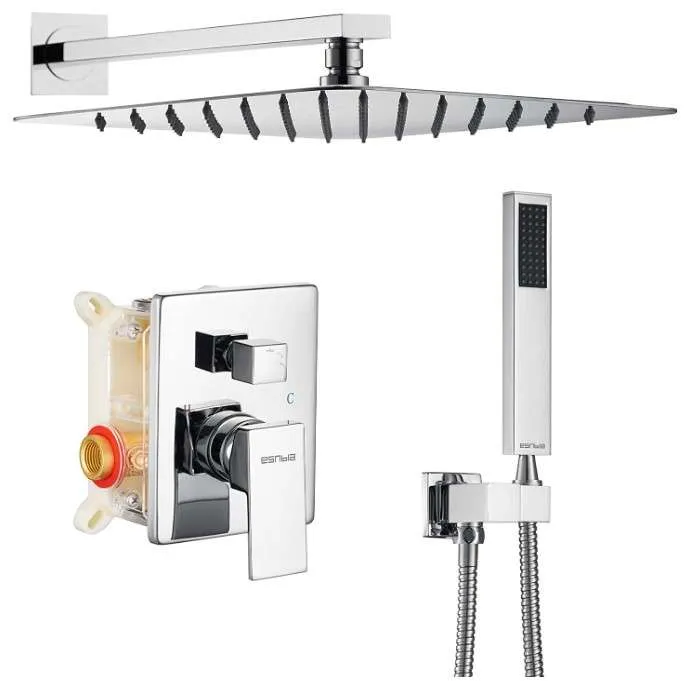
5. Durable and Long-Lasting
Made with rust-proof materials like stainless steel or brass, quality faucets resist corrosion and wear — saving you money on repairs or replacements.
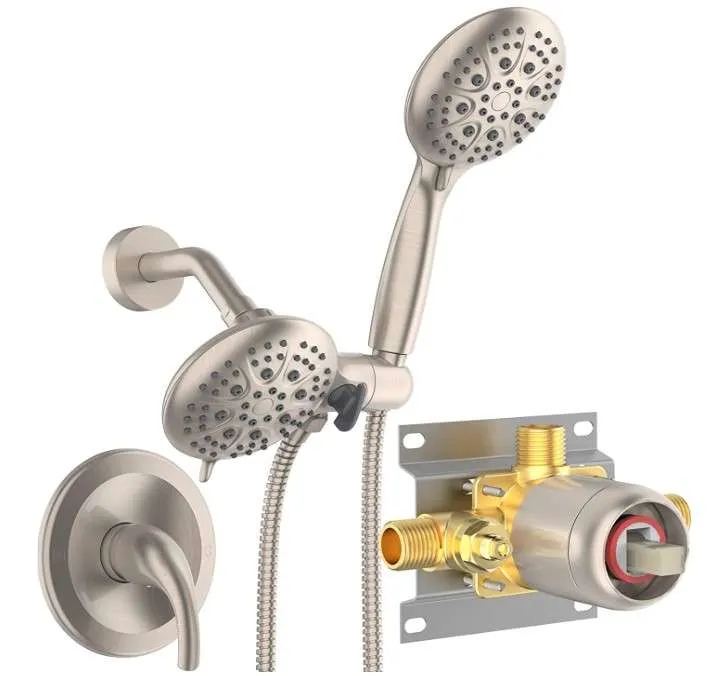
6. Easy to Use and Install
Many models now feature user-friendly designs and DIY installation, meaning no plumber required and no damage to your walls.